Walkthrough 7-5: Create a well-organized Mule project
In this walkthrough, you create a new project for the Mule United Airlines (MUA) flights application that you will build during the course and then review and organize its files and folders. You will:
· Create a project based on a new API in Design Center.
· Review the project's configuration and properties files.
· Create an application properties file and a global configuration file for the project.
· Add Java files and test resource files to the project.
· Create and examine the contents of a deployable archive for the project.
Create a new API in Design Center
1. Return to Anypoint Platform in a web browser.
2. In Design Center, create a new API specification project called MUA Flights API.
3. In API Designer, select Import in the settings drop-down menu in the upper-right corner.
4. In the Import dialog box, browse to your student files and select the MUA Flights API.zip located in the resources folder.
5. Click Import.
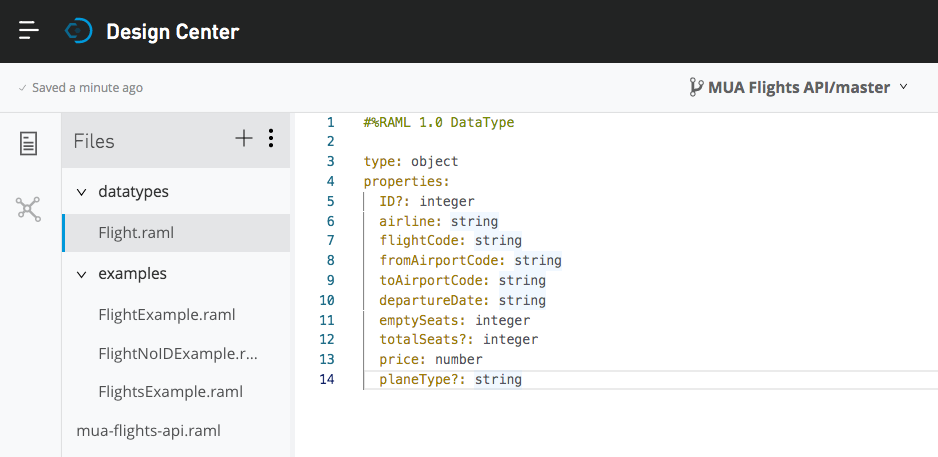
6. In the Replace dialog box, select mua-flights-api.raml and click Replace file.
7. Explore the API; be sure to look at what resources are defined, the name of the query parameter, and the structure of the Flight data type.
Create a new project to implement this API in Anypoint Studio
8. Return to Anypoint Studio.
9. Right-click in the Package Explorer and select New > Mule Project.
10. In the New Mule Project dialog box, set the project name to apdev-flights-ws.
11. Select the Import from Design Center tab.
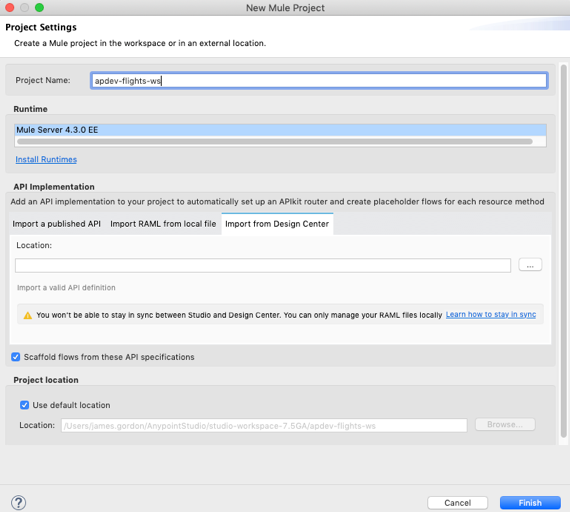
12. Click the browse button next to Location.
13. Sign into Anypoint Platform if prompted, then, in the Browse Design Center for APIs dialog box, select MUA Flights API and click OK.

14. In the New Mule Project dialog box, click Finish.
Note: It is recommended that for greater product stability and to avoid excessive memory consumption you set the mule.apikit.parser VM argument for this new project as outlined in the Check for course updates and/or issues section of this course.
Locate the new RAML files in Anypoint Studio
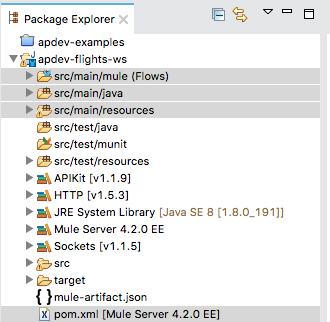
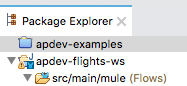
15. Return to the apdev-flights-ws project in Anypoint Studio.
16. In the Package Explorer, expand the folders in the src/main/resources folder; you should see the MUA Flights API files.
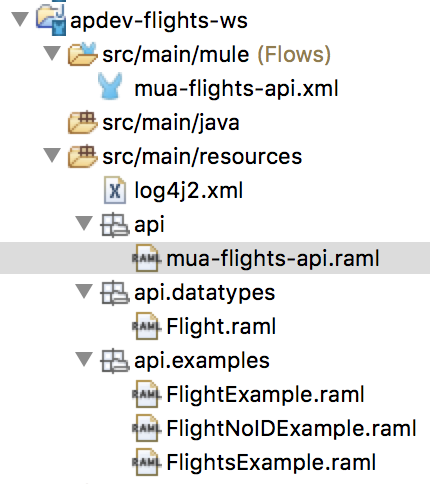
17. Open mua-flights-api.raml and review the file.
18. Leave the file open.
Review project configuration files
19. Look at the mua-flights-api.xml file that was created; it should have a get:\flights flow and a post:\flights flow.
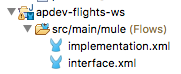
20. Rename mua-flights-api.xml to interface.xml.
21. Create a new Mule configuration file called implementation.xml.
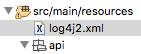
22. Locate log4j2.xml in src/main/resources and open it.
23. Review its contents and then close the file.
24. Locate pom.xml in the project and open it.
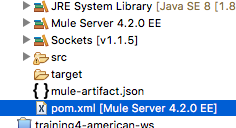
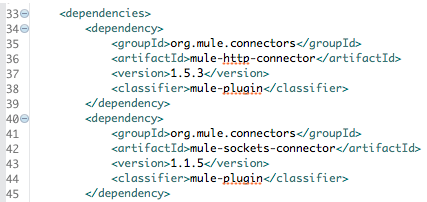
25. Review its contents.
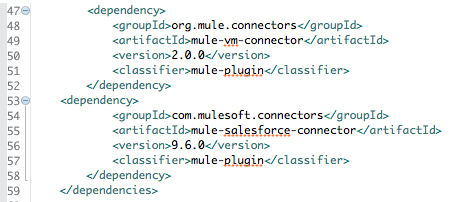
26. Return to the apdev-examples project and open its pom.xml file.
27. Compare the two pom.xml files.
28. Close both pom.xml files.
29. In the Package Explorer, right-click apdev-examples and select Close Project.
Create a properties file for application properties
30. In the apdev-flights-ws project, right-click src/main/resources and select New > File.
31. In the New File dialog box, set the file name to config.yaml and click Finish.
32. In config.yaml, define a property called http.port equal to “8081”.

33. Save and close the file.
Create a global configuration file
34. In src/main/mule, create a new Mule configuration file called global.xml.
35. In global.xml, switch to the Global Elements view.
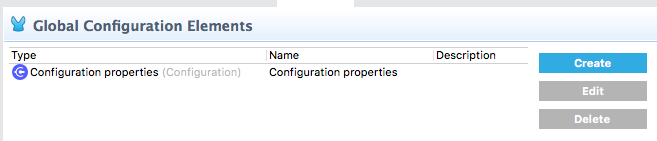
36. Create a new Configuration properties element with the file set to config.yaml.
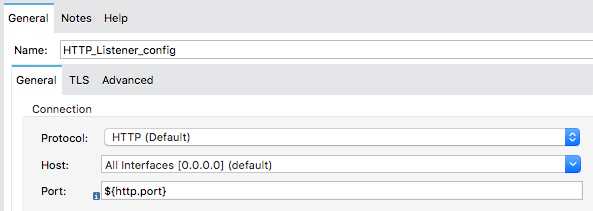
37. Create a new HTTP Listener config element with the host set to 0.0.0.0 and the port set to the http.port property.
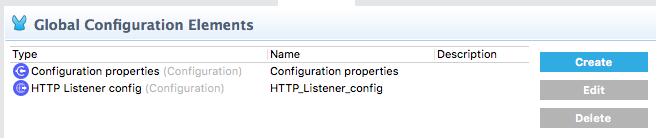
38. Confirm you now have two global elements defined in global.xml.
39. Save and close the file.
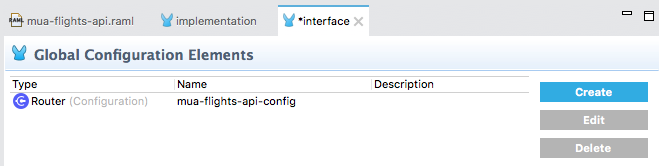
40. Go to the Global Elements view in interface.xml.
41. Delete the mua-flights-api-httpListenerConfig HTTP Listener Configuration.
42. Return to the Message Flow view.
43. Select the HTTP Listener in mua-flights-api-main, and in the Listener properties view, ensure the Connector configuration is set to HTTP_Listener_config.
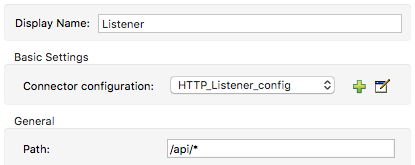
44. Select the HTTP Listener in mua-flights-api-console, and in the Listener properties view, ensure the connector configuration is set to HTTP_Listener_config.
Add Java files to src/main/java
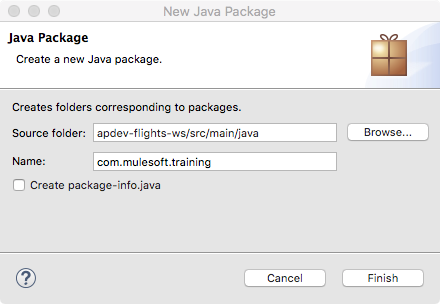
45. In the Package Explorer, right-click the src/main/java folder and select New > Package.
46. In the New Java Package dialog box, set the name to com.mulesoft.training and click Finish.
47. In your computer's file browser, locate the Flight.java file in the resources folder of the student files.
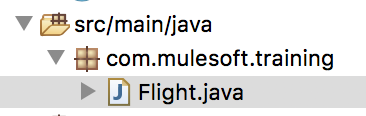
48. Drag the Flight.java file into the new com.mulesoft.training package in the src/main/java folder in the apdev-flights-ws project.
49. In the File Operation dialog box, ensure Copy files is selected and click OK.
50. Open the Flight.java file.
51. Review the code.
Review src/test folders
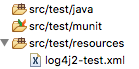
52. In the project, locate the three src/test folders.
53. Expand the src/test/resources folder.
Add test resources
54. In your computer's file browser, expand the resources/examples folder in the student files.
55. Select the three flights and one united-flights files (JSON and XML) and drag them into the src/test/resources folder in the apdev-flights-ws project.
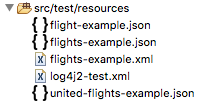
56. In the File Operation dialog box, ensure Copy files is selected and click OK.
Examine the contents of a deployable archive
57. In Anypoint Studio, save all files, and then right-click the project and select Export.
Note: If errors which specify an undefined attribute config-ref persist after saving, go into the properties views of both HTTP Listeners in interface.xml and select Apply Changes.
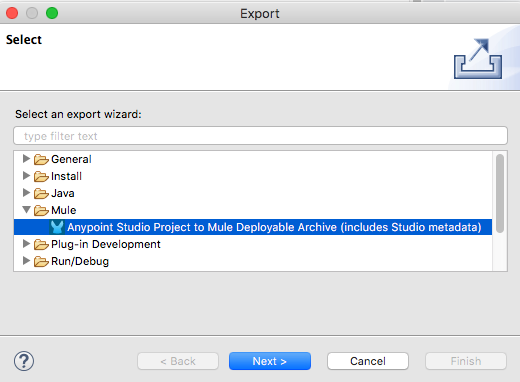
58. In the Export dialog box, select Mule > Anypoint Studio Project to Mule Deployable Archive and click Next.
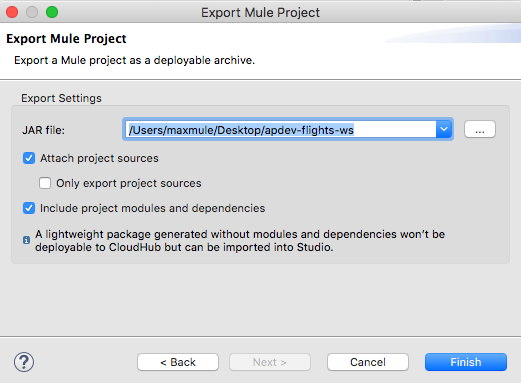
59. In the Export Mule Project dialog box, set the JAR file to a location that you can find and click Finish.
60. In the Export Mule Project dialog box, click OK.
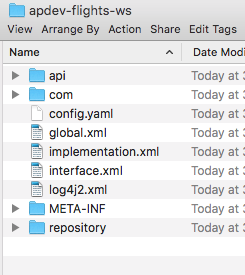
61. In your computer's file browser, locate the JAR file and expand it.
62. Open the resulting apdev-flights-ws folder and examine the contents.